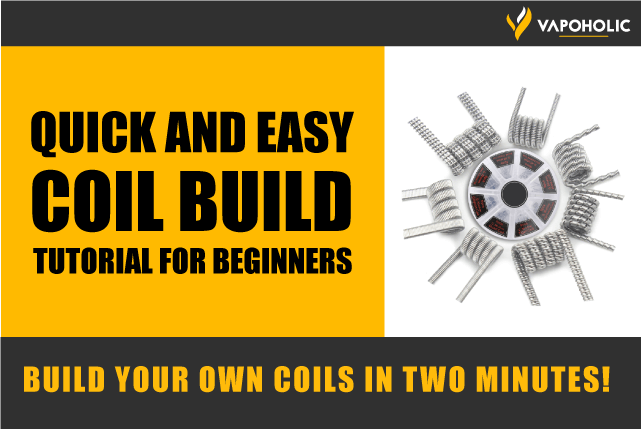
How to build your own vaping coil
Whilst some people are content purchasing pre-built coils, others prefer to take full control of their vaping experience by building their own. Not only does this allow you to tailor your coils to suit your preferences, but reaping the benefits of your own hard work can be extremely fun and rewarding.
In our post RBA Vaping Systems Explained, we looked at RBA, RTA and RDA setups and the benefits of building your own atomiser. Here, we will give you a quick step-by-step guide on how to make e cig coils.
Coil building tools you’ll need
To build your own custom coils, you’ll need a few coil building tools but you should be able to purchase these for only a few pounds each. We suggest picking up the following items for your vape coil build:
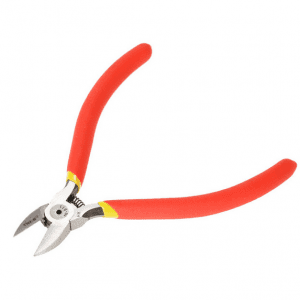
Mini diagonal pliers
Used for cutting the wire
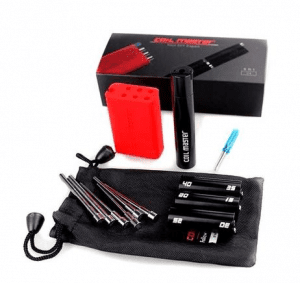
E cig coil building kit
Your e cig coil building kit will contain the tools needed to create tightly wound coils at various diameters. The BASE, coiling poles and top covers are essential tools when you’re planning to make your own vape coils.
How to make e cig coils
Step 1 - cut wire
First you need to cut a piece of wire from your spool. Ideally, this should be around 3-4 inches in length, although beginners can cut it around 5-6 inches which will help you adjust the coil size afterwards.
Step 2 - wrap your coil
Next you’ll need to wrap the wire to create the coil. What you use to wrap the coil depends on the tools at your disposal. If you’ve purchased a vape coil building kit then you’ll wrap the wire tightly around your coiling poles. If you’re using more basic tools then you might just use a screwdriver or drill bit.
When wrapping the wire, round it until you get to your desired number of loops, which will help you achieve your ideal resistance.
Try to maintain a strong tension as this will help keep the coil tight and firm, which is crucial if you want to build the best possible DIY vape coils. Also, avoid overlapping while wrapping the coil and make sure the ends are pointing in the same direction when you’ve finished wrapping.
Step 3 - fit your coil
To install your newly-built, homemade vape coil, detach the tank build deck and carefully insert both ends of the coil - one into the positive slot and the other into the negative. Try to keep the coil in the middle and the wires going into the slots as straight as possible. Gently tighten the screws and your homemade vape coil is fitted.
Step 4 - wick your coil
Cut a piece of cotton and thread it in your coil making sure it’s overlapping each side by around half an inch. Tuck the cotton underneath the coil to help it absorb your e-liquid and hey presto! You’ve now fitted your very own vape coil build, which is ready to use right away.
Benefits of building your own homemade vape coils
You’ll save money
When it comes to cost, there’s no doubt about it: building your own coils is much cheaper than buying pre-built, ready-to-go ones.
Purchasing a length of wire shouldn’t cost you more than a few quid, and this will last a number of months. You’ll also need to buy some cotton for the wicking, but again the cost of this should be negligible.
Once you’ve got your wire and cotton, you should be able to get hundreds of coils out of your mini investment, which over time will see you make some serious savings.
Satisfaction
If you’re a vaper who prefers everything to be as quick and convenient as possible then this might come as a surprise to you, but some vapers actually enjoy the hands-on nature of homemade vape coils. That’s right, for many vapers, going to the trouble it takes to make your own vape coils and atomisers is actually half the enjoyment.
Personalisation
Similar to cooking a meal from fresh ingredients yourself, knowing what’s in your coil and being in control of its contents can be extremely satisfying. Moreover, not unlike a lovely home-cooked meal, building your own coils can also mean the end result is much more tasty.
So there you have it. Now you've read our vape coil building guide, hopefully you’re now ready to get started creating your own custom coils.
Watch out for our next tutorial showing you how to fit and wick a self-built coil.
For some more information before you get started, check out our handy Vape Coil Guide
Vapoholic.co.uk – THE place to come for the best UK e liquid deals and vape news.